Description
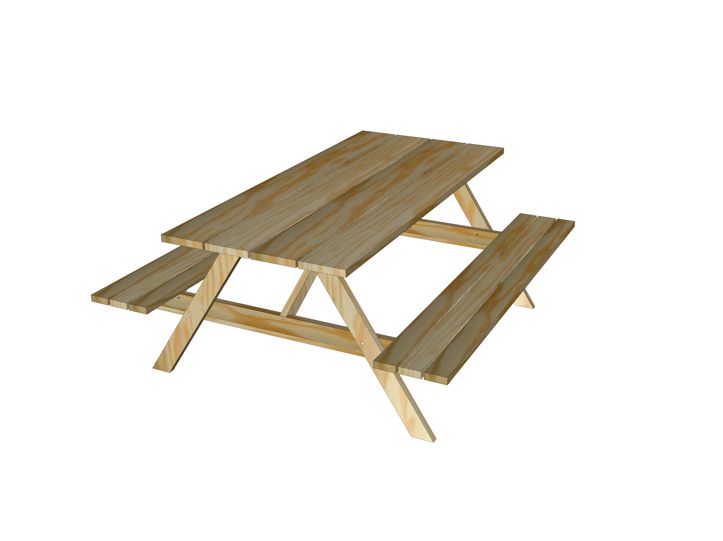
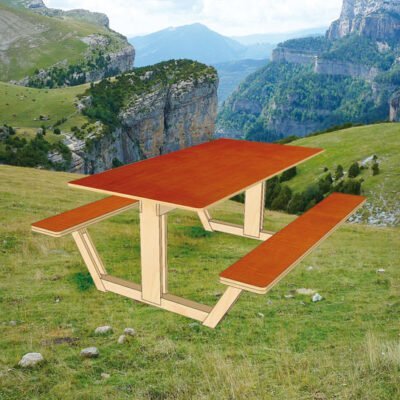
Free picnic table ‘Nevada’, built by our customers with this manual
Several do it yourselfers have send us pictures of picnictable Nevada. Click on the pictures to see more photos of self-made furniture, and to read about the experiences of those who made them.
Build this basic picnic table with our professional manual
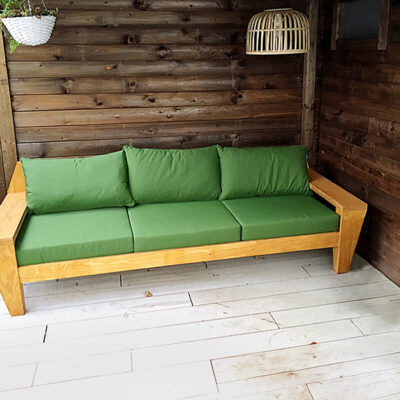
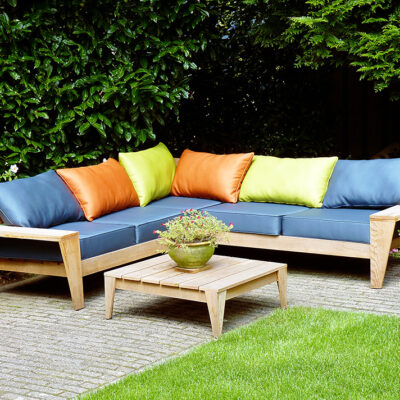
Make yourself a customized picnic table! With our plan and instructions it is quite easy. We have slightly modified the basic design of the picnic table to make it easier for the inexperienced do-it-yourselfer. Not too heavy, yet very stable. As material for this classic piece of furniture, we recommend 30 mm thick impregnated garden timber. Scaffold planks can also be used, but it is just less dimensionally stable and therefore a little more difficult to work with. For those looking for something a little more special: have a look at our picnic table “Ordesa” and our outdoor lounge sofa “Yelmo”
The design
This is of course the basic, classic picnic table that everyone knows, and it’s not our design.
Still, we have naturally tried to make the design as beautiful as possible. For this free picnic table, we have taken particular account of a few things.
We wanted the table to be easy to take apart, so that it can be stored away in the winter if necessary.
We have tried as far as possible to hide all screws. For screws that remain visible, you’ll find instructions on how to camouflage them.
In our furniture makers tips we describe how you can do this.
We always try to make our furniture as efficiently as possible from standard size sheet or board material.
The design takes account of the capabilities and limitations of a typical DIY’er and their tools. If you have a hand saw (and in some cases a jigsaw) and a drill and know how to handle them, then you should be able to make all of our furniture. If you have access to professional tools, then of course it will be even easier.
… adjustments
As you might have already seen in the photos of finished furniture, it’s really easy to make changes to the dimensions and/or design. The clear cutting list and design drawings help to give you the confidence to make any changes you like.
The manual / design plan and drawings
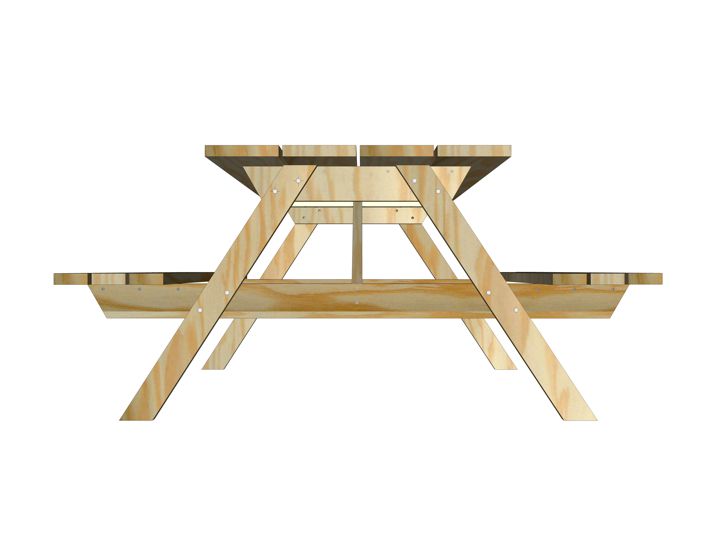
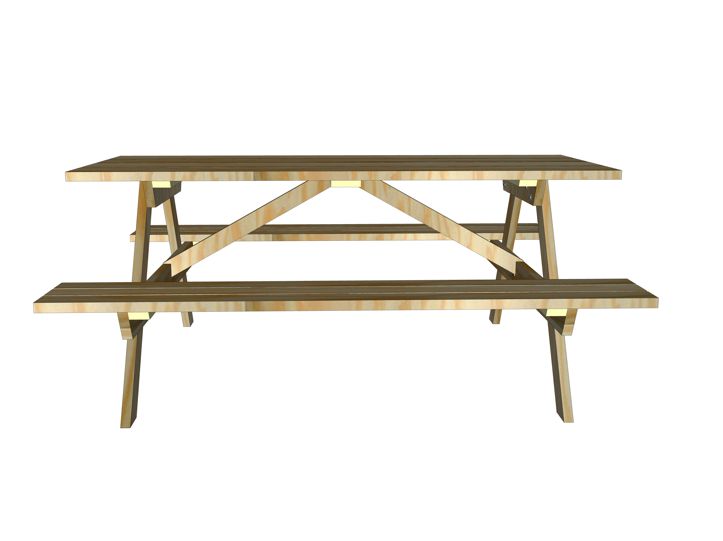
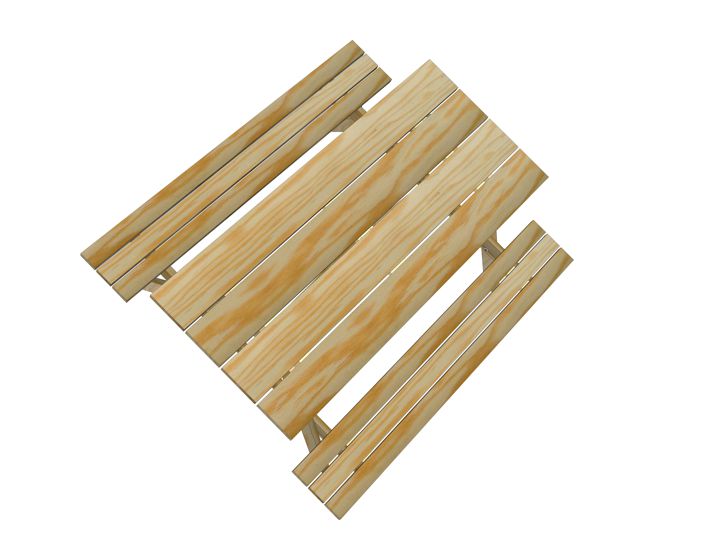
The downloadable manual is in the form of an A4 booklet for you to print out yourself. At the start you’ll find a list of necessities, such as the wood (board or sheet material), screws (size and quantity), glue and any other parts. Also listed are the tools that you will need and a cutting list with dimensions of all the parts that make up the piece of furniture. Blueprints of our larger pieces of furniture also have a cutting plan, which shows the most optimal way to cut the individual pieces from standard sized boards.
Each furniture plan contains a number of relevant tips about choice of material, sawing, screws, glue, sanding, painting, varnishing, etc. When dowels are given as an alternative, there is also a detailed explanation so that you can get started with full confidence.
Finally, there is a detailed step-by-step plan for the construction of the furniture, with clear diagrams and simple explanations.
Example pages from the manual






Nico –
Net de picknicktafel klaar. Leuk om te maken. Heb wel een aanpassing gedaan door de zitgedeelte opklapbaar te maken. En nog kunststof plaatjes, 6 mm, aan de onderzijde gemaakt en de poten zwartgemaakt.
Herman –
Picknick tafel gereed.
Prima werktekening van jullie, heb ik veel aan gehad.
Ik heb er wat eigen ideeën in verwerkt en het resultaat is erg mooi geworden.
Ben –
Ik heb 2 dagen lekker getimmerd. Is weer eens wat anders (intellectueel beroep). Hier in Zwitserland hebben ze eigenlijk nog nooit van “steigerhout” gehoord. Letterlijk “Gerüst Holz”. Ze hebben zeker niet die standaard 19,5 cm breed. Toen begon ik ook te twijfelen aan wat “steigerhout” in Nederland is. Dat is toch gewoon vuren?
Hier in Zwitserland zijn veel van die picknick plaatsen waar de mensen in de weekends heen trekken. Daar staan ook vaak van die picknick tafels. Die zijn meestal gemaakt van duurzaam “Lärche” Holz. Dat is Lariks. Standaardbreedte is 11 cm, 2,8 dik. Daar heb ik nu die tafel van gemaakt. Omdat jullie tekening uitgaat van die 19,5 cm was dat soms wel lastig, want de houtverbindingen in jullie tekening gaan uit van de gatenpositie in jullie planken.
Jan –
Enige tijd geleden jullie gratis werktekening van de picknicktafel gedownload, en daarna gemaakt.
De tekeningen waren erg goed, zonder probleem de tafel gemaakt.
Michiel –
…ik heb de tekening van mijn vriendin doorgestuurd gekregen en heb ook de picknick tafel gemaakt.
De tekening was prima! Ik heb alleen wel andere afmetingen gebruikt omdat ik alleen voor het tafelblad steigerhout hebt gebruikt, onderstel heb ik balken van een andere afm gebruikt, SLS balken. Deze heb ik uiteindelijk verkocht via marktplaats omdat hij nu niet in onze tuin paste en de verhuizing die gepland stond niet doorging.
Inmiddels staat een nieuwe verhuizing gepland en ben ik van plan in het voorjaar weer een nieuwe te maken 🙂
Hartelijk dank nog voor de tekening!
Jack –
Hartelijk dank! het is gelukt. “Nevada” gemaakt en afgewerkt met een greywash lak. De maten iets veranderd naar 2m breed en de hoogte verlaagd naar 71cm omdat hij anders te hoog was voor onze kinderen in de leefijd van 4-8 jaar
Frank –
Hoi, bij deze een (vind ik) een mooi resultaat voor de picknick tafel Nevada.
Deze tafel is volledig opgebouwd uit 40mm Douglas.
De tekening hoefde maar amper aangepast te worden.
TOP TEKENING!
TOP BOUWBESCHRIJVING!
TOP RESULTAAT!
Op deze manier kan iedereen een tafel maken!
Tiny –
Mooie en duidelijke werktekening!
Complimenten!
Rob de tekening was zeer duidelijk, we hebben wel de dikte van het blad en de zittingen aangepast omdat het wat robuuster mocht voor het plekje waar we de tafel wilden.