


Description
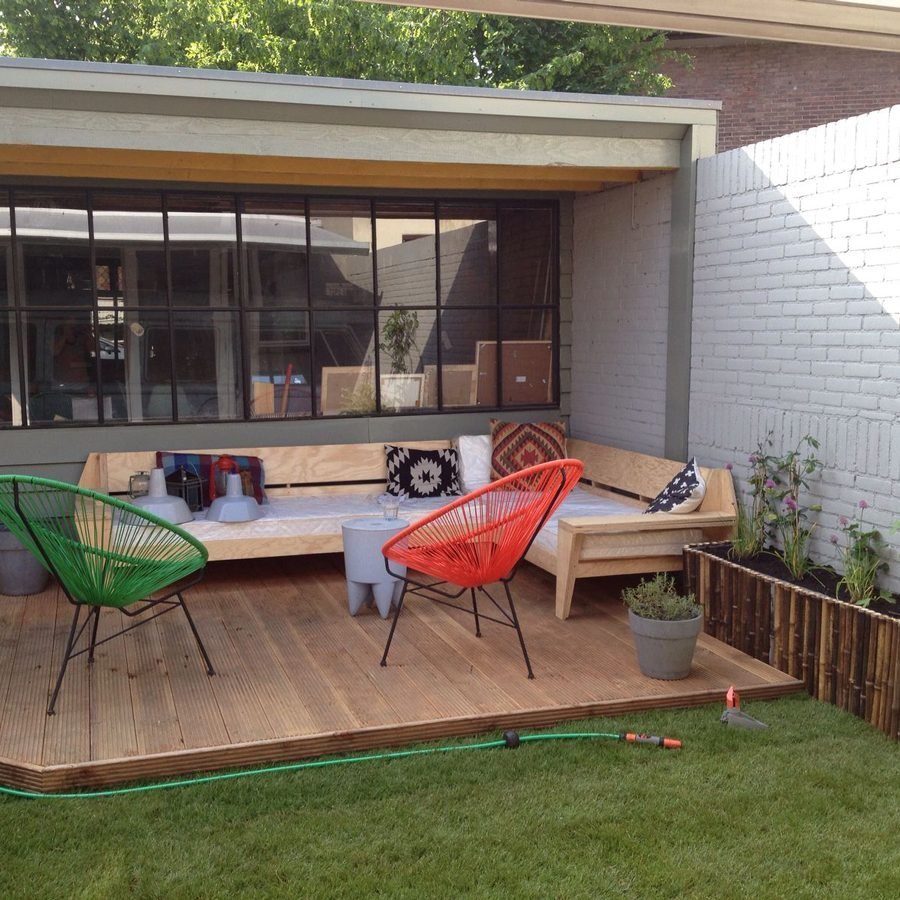
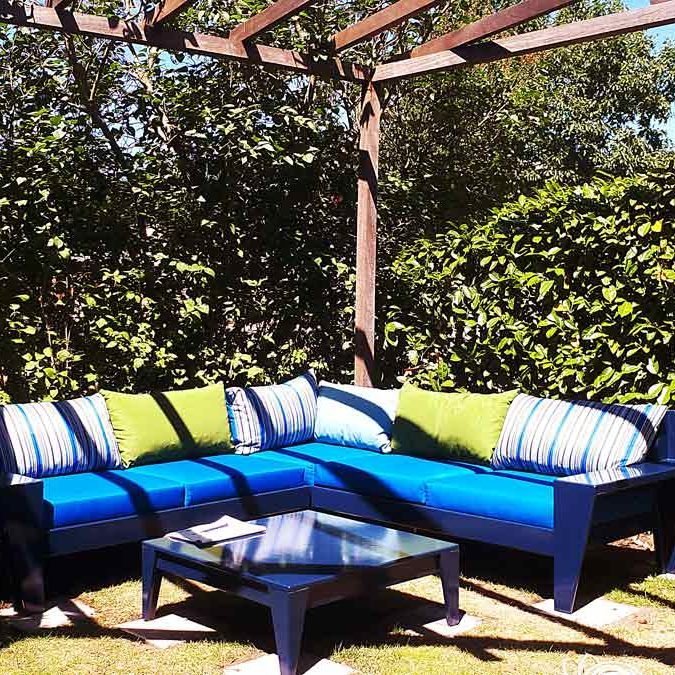
See pictures of our furniture models made by customers
As it is a new model few photos of the Amado sideboard are available. Below you also see pictures of other furniture made by customers. Introductory offer: send us photos of your final result within 6 weeks after purchase and receive the purchase price of the furniture plan!


DIY Plan of sideboard Amado: build your own sideboard yourself!
Everything in your own hands! A sleek design that can be adapted to your needs. Change the dimensions using the cutting list and cutting plan. The manual with detailed diagrams clearly show which sizes change. Choose your material yourself. Create a modern piece of furniture with lacquered fronts and doors from MDF or a beautiful grain with plywood or veneer. And then you can also decide for yourself whether you want handle-free or choose a nice handle yourself. Or of course our proposal: recesses as handles that link a sleek design to a spatial image.
This cupboard looks spacious, as if it were floating on a black base that largely disappears into the shade. It is no coincidence that the construction of this base is supportive over the entire length of the sideboard. This makes it easier to adjust the doors and drawers because the body is rigid with the continuous rear panel.
In the construction of this piece of furniture, it was deliberately chosen to have the partition walls double. This may cost extra material, but it yields a lot. The installation of doors and drawers is always at the same height. And when mounting drawers or doors, there are no problems if you want to screw from two sides in the same place in an 18 mm thick panel.
To cut the panels, we recommend using a panel saw / circular saw. You can also have this done by your wood supplier.
The design
In this design we tried to reduce material use to save costs and material. With this sideboard we have taken a number of specific things into account:
We pay a lot of attention to keep screw connections out of sight as much as possible. Although almost all connections are screwed, few screws are visible. Actually only a few on the inside of the cabinet. If you want to paint the furniture in an opaque color, it is sufficient to neatly conceal screw connections with the help of filler. Our Furniture Making Tips describes how to do this. But this is not even necessary. Not a single screw is visible on the outside.
Then we always try to get the furniture from standard dimensions of sheet material as efficiently as possible. This cabinet requires 4 standard plates (244 x 122 cm) in 18 mm and 1 plywood plate 250×125 of 6 mm. Much material is used for the large drawers and double uprights.
Finally, the design is tailored to the possibilities and limitations of the do-it-yourselfer and his / her tools. If you have and can handle a handsaw (sometimes jigsaw) and drill, you can make all our furniture, so to speak. If you have professional tools, it will only get easier. We assume that you can have the panels cut by your wood supplier. And of course focus and concentration also helps a lot.
… customize
As you may have seen from the photos of other furniture made, it is very easy to make changes to the dimensions and / or the design yourself. The clear cut list and diagrams will give you the self-confidence to do that.
The furniture plan package / construction drawing
The downloadable manual is in the form of an A4 booklet for you to print out yourself. At the start you’ll find a list of necessities, such as the wood (board or sheet material), screws (size and quantity), glue and any other parts. Also listed are the tools that you will need and a cutting list with dimensions of all the parts that make up the piece of furniture. Sideboard Amado also has a cutting plan, which shows the most optimal way to cut the individual pieces from standard sized boards.
Each furniture plan contains a number of relevant tips about choice of material, sawing, screws, glue, sanding, painting, varnishing, etc. When dowels are given as an alternative, there is also a detailed explanation so that you can get started with full confidence. Finally, there is a detailed step-by-step plan for the construction of the furniture, with clear diagrams and simple explanations.
Some pages from the Example pages from the manual:


Martijn –
Ik heb ervoor gekozen wielen onder het meubel te zetten in verband met stofzuigen. Het moeilijkste van het dressoir is het uitlijnen van de frontjes. Dat ga ik nog een keer overnieuw doen.
Ik heb nooit eerder een meubel gemaakt, dus ik ben erg content met het resultaat.
Mijn vrouw staat ook al te popelen om het dressoir in te ruimen.
Hans S –
Dank voor alle tips /tricks die mij echt hielpen.
En wat reageer je goed op e-mail zeg! En dat inclusief bij die ene bouwtekening die ik bij je heb gekocht!
De lade ga ik nog eens mee pielen, dank voor je tips. Wel mooi, ik krijg echt het idee dat je een liefhebber bent, erg leuk om te ervaren zo.
Hans S –
Het meubel is klaar, alleen de lade-handvaten ontbreken nog.
Het is jouw constructie en het ontwerp uit de winkel en de aanpassingen van mij. Bij elkaar, ben ik erg tevreden, top!
Hans S –
Het meubel is klaar, alleen de lade-handvaten ontbreken nog.
Het is jouw constructie en het ontwerp uit de winkel en de aanpassingen van mij. Bij elkaar, ben ik erg tevreden, top!